Last updated November 21, 2026
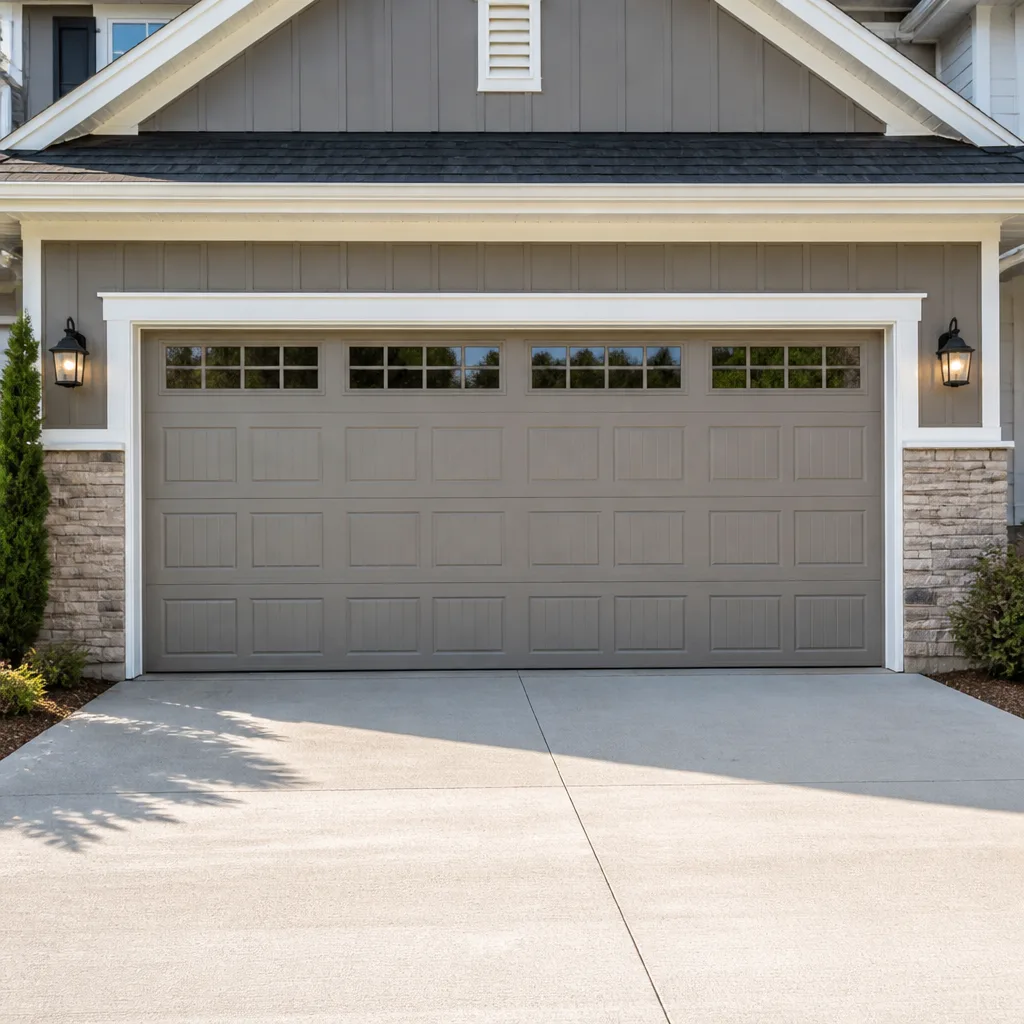 Raised-panel steel
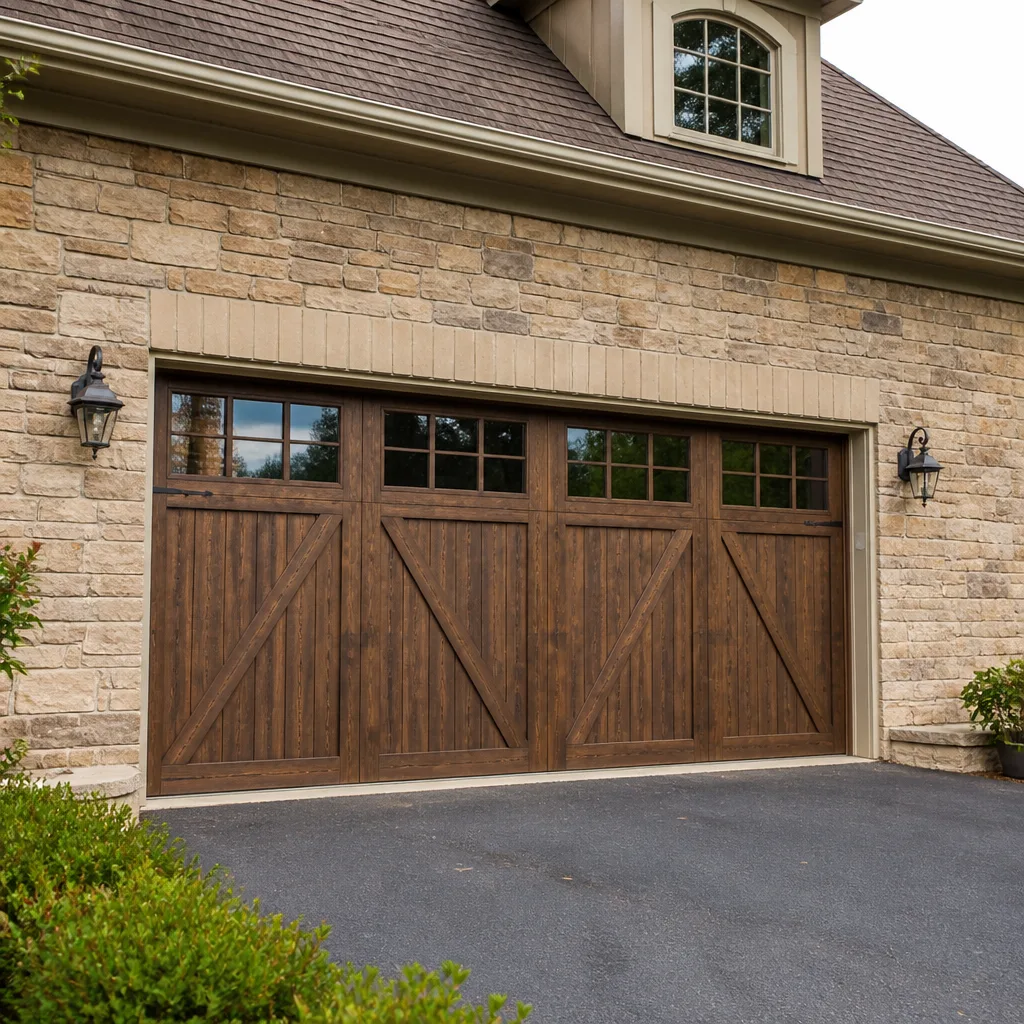 Carriage house
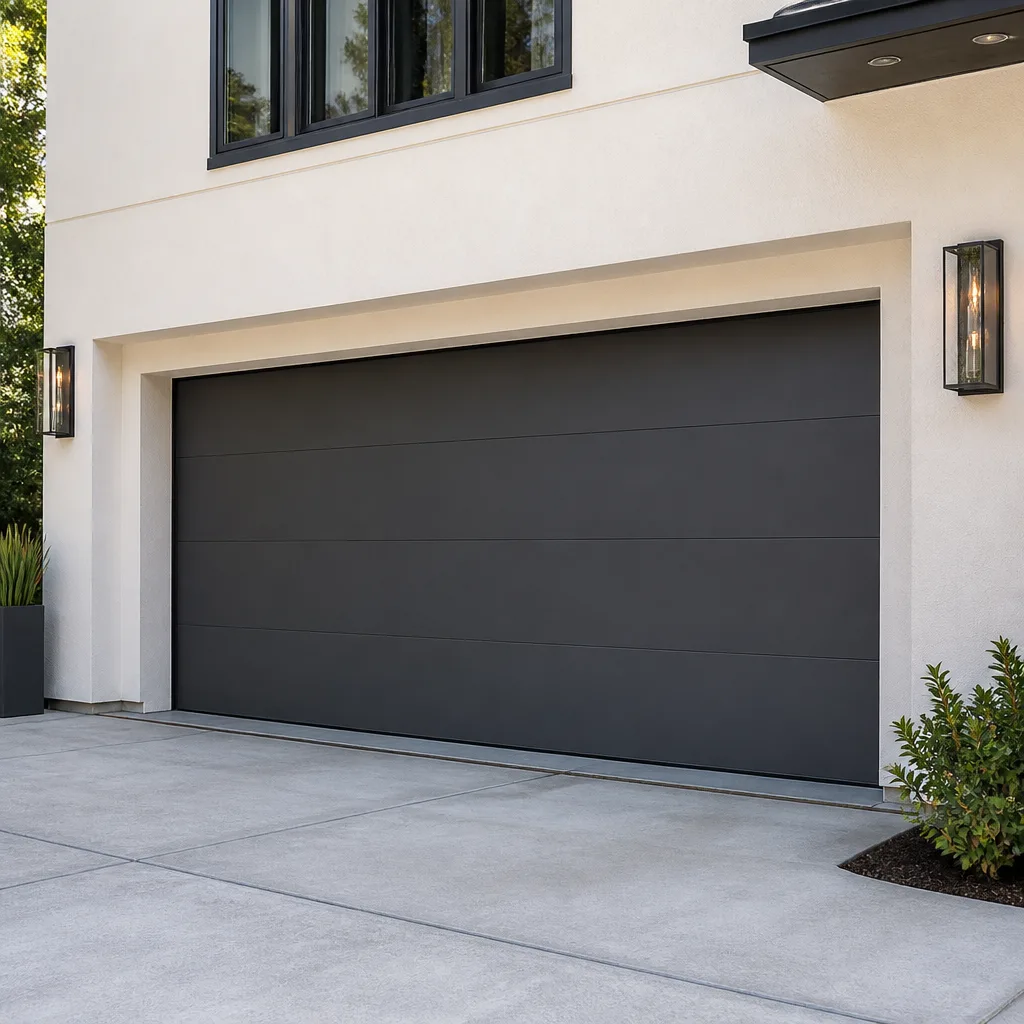 Modern flush
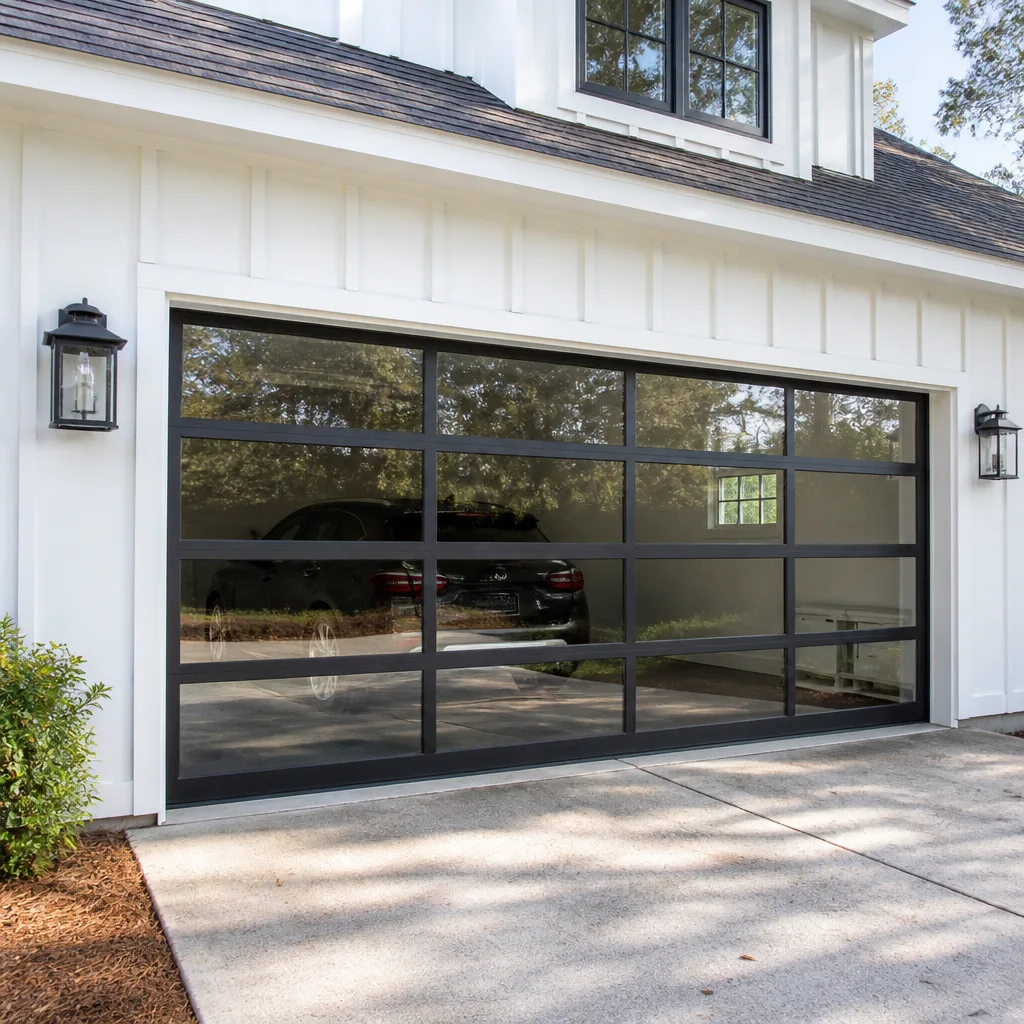 Full-view glass
 LiftMaster openers
 Chamberlain openers
Full 25-point door and opener safety check with every visit - springs, cables, rollers, tracks, and your LiftMaster or Chamberlain opener included
You get a price before we start. It does not change when the pro arrives.
Get your free estimateGarage Door Repair Maintenance Checklist for Eagan Homeowners
The number-one cause of premature spring failure in Minnesota isn’t age. It’s the wrong lubricant applied at the wrong time of year. Heavy grease that seems sensible in October thickens to something closer to wax by January, and every cold cycle drags on the coils a little harder than the last. A spring rated for a long service life can lose that life in a handful of winters because nobody thought about what the lubricant does at zero degrees. In this guide we’ll walk through a component-by-component maintenance checklist built for how garage doors actually behave in Eagan, organized by the tool and time each task takes, and keyed to the failure patterns we see on the systems common in homes around town. The goal is simple: catch a $15 problem before it becomes a $400 service call.
Styles & brands we work with
- Raised-panel steel
- Carriage house
- Modern flush
- Full-view glass
- LiftMaster openers
- Chamberlain openers
Quick Answer
A garage door maintenance checklist for Eagan, MN should cover six component groups: springs and cables, rollers and hinges, the track, the opener and safety reverse, the weather seal and bottom bracket, and the door balance. Inspect monthly with a visual and audio check, lubricate twice a year with a cold-rated lithium or silicone spray (never heavy grease), and test the auto-reverse and balance every three months. Anything that fails the balance test, makes a snapping sound, or shows a visible gap in a cable means stop using the door and call a technician.
Table of Contents
- Why Eagan Doors Age Differently Than the Manual Assumes
- The Monthly Five-Minute Walk-Around
- Springs and Cables: The Highest-Risk Components
- Rollers, Hinges, and the Track
- Opener, Travel Limits, and the Auto-Reverse Test
- Seasonal Split: Summer vs. Winter Inspections
- Red-Line Indicators: When to Stop Using the Door
- Maintenance Log Template for Eagan Homeowners
- Common Mistakes to Avoid
- When to Call a Professional
- Frequently Asked Questions
- The Bottom Line
Why Eagan Doors Age Differently Than the Manual Assumes
Every garage door in Eagan lives through a temperature swing of roughly 100 degrees over the course of a year, and that swing is the real maintenance driver. Metal contracts in the cold and expands in the heat. Lubricants that flow like water at 85 degrees in July turn to sludge at minus 15 in January. Weather seals that seem pliable in fall crack by spring. And the ground shifts with the freeze-thaw cycle, which puts slow torque on the track and hinges even when nothing seems wrong. The manufacturer manuals shipped with most doors do mention seasonal maintenance, but they’re written to an average national climate that doesn’t exist anywhere. Eagan’s winters are colder, longer, and more chemically aggressive on rubber and steel than the assumptions baked into a generic checklist.
The practical result is that maintenance in Eagan needs to be organized by component type, not by a vague “check the door” routine. Springs have their own failure curve. Rollers have another. The opener has a third. A checklist that treats them as one thing will miss the components that are actually wearing out. As a company that works on garage doors across every major brand, we’ve seen how the same brand and model fails differently in Eagan than it would in a milder market, and that’s the lens this guide is written from.
One more thing that matters here: Eagan’s housing stock runs from older single-stall doors in the neighborhoods off Diffley to newer three-stall installations in the developments around Cedar Avenue and Pilot Knob. The maintenance needs are different for each. An older door with wooden panels and torsion springs ages on a different schedule than a newer insulated steel door with a belt-drive opener. The checklist below works for both, but knowing which system you own changes which tasks matter most.
The Monthly Five-Minute Walk-Around
A full monthly action you can do in five minutes with no tools, this is the tripwire that tells you when something is drifting toward failure. Do it with the door closed, then again with the door fully open.
- With the door closed, look at the springs. Torsion springs sit on a bar above the door. Extension springs run along the sides. Visually scan for gaps, rust pitting, or a spring that looks stretched flat. A gap in a torsion spring means it has broken.
- Check the safety cables on extension springs. Those cables thread through the middle of the spring. If either cable is loose, missing a clip, or off its anchor, stop using the door and call us.
- Open the door fully and listen. A healthy door makes a soft whir. A door that pops, creaks, scrapes, or growls has a problem.
- Look at the rollers. Each roller should sit inside its hinge with no visible gap or wobble. A roller pulled partway out of the hinge means a hinge plate has bent.
- Check the weather seal at the bottom. The rubber flap should press evenly against the floor. A gap on one side means the door is out of balance or the seal has compressed and needs replacing.
- Look at the wall-mounted opener unit and the safety sensors mounted near the floor on each side. Both sensors should have a steady light, not a blinking one (blinking means the beam is misaligned).
- Test the manual release. Pull the red rope (or the handle on your opener) with the door closed. The door should disengage. Re-engage it fully before you operate the door again.
None of these require you to touch a moving part while the door is in motion. Do not put your hands or face near the springs, the torsion bar, or the moving door. The five-minute walk is a visual and audio check only.
Springs and Cables: The Highest-Risk Components
Springs and cables carry the full weight of the door and release it under tension. They’re also where we see the highest number of Eagan repairs. Torsion springs (mounted on a bar above the door) typically last between 7,000 and 10,000 cycles. In a household that opens the door four times a day, that’s roughly five to seven years. But Eagan winters compress that window. Springs have to fight cold-stiffened oil, a slightly heavier door due to frost in the seal, and metal that has shrunk. A spring under more resistance cycles more stress per open. Our garage door spring repair work here is routine, but it’s not simple.
Two practical rules apply regardless of the brand on the door. First, springs are replaced, not repaired. A technician can’t re-tension a broken spring, and attempting to unwind or tighten a torsion spring by hand is genuinely dangerous. Second, matched springs get replaced as a pair. If one spring breaks, the other one is at the same point in its cycle life. Replacing just the broken one puts the surviving spring under more load, and it tends to fail within a season. A pair replacement costs about twice a single-spring replacement and is the right answer.
What to look for:
- A visible gap in a torsion spring means it has broken. Do not operate the door.
- Extension springs should have safety cables running through the center. If a cable is missing or loose, that’s a red-line issue.
- Rust streaks on the torsion bar or spring coils indicate moisture is working into the assembly.
- A door that lifts fine but drops fast under its own weight when you release it partway is a balance problem, usually spring-related.
- A snapping or popping sound from the spring bar at the start of a cycle means a coil has slipped.
For a fuller picture of how spring failure develops, see our guide to garage door repair for the repair workflow on torsion and extension systems. Both need to be handled by a trained technician. We don’t recommend homeowners try to adjust, replace, or even visually inspect springs closely while the door is in motion.
Rollers, Hinges, and the Track
Rollers are the workhorses of the door and the easiest components to overlook. A steel roller rides in the track on a set of bearings. When those bearings wear, the roller starts skidding instead of rolling, which adds noise and drag. In Eagan, rollers also pick up grit from the road salt and sand that blow into garages during the winter. That grit works into the bearing and accelerates wear. Nylon rollers last longer and run quieter, and for a door in a home attached to living space, upgrading from steel to nylon is often the most noticeable improvement a homeowner can make.
Check rollers and hinges every month and lubricate them twice a year:
- Nylon rollers typically last five or more years. Look for cracks or flat spots on the wheel.
- Steel rollers wear faster and need lubricant twice a year. A roller that spins freely by hand with the door closed is healthy.
- Hinges should move freely and show no rust jacking (where rust pushes the metal apart at a seam). Each hinge gets one drop of cold-rated lubricant.
- The track should be straight, clean, and free of debris. Wipe it down twice a year with a dry cloth. Do not use oil on the track itself; it collects grit.
Track alignment is where homeowners most often get into trouble. A track that has been nudged out of alignment (by a bumper, a bike, or the freeze-thaw cycle pushing the concrete) will make the door bind and scrape. Small misalignments can be corrected with a rubber mallet and a block of wood, but a track that shows a clear bend or is loose from its wall anchors should be handled by a technician. Bending a track back into place is harder than it looks and can cause the rollers to jump the track mid-cycle.
Opener, Travel Limits, and the Auto-Reverse Test
The auto-reverse test is the single most important safety test you can run on a garage door in Eagan. Every opener manufactured after 1993 is required to have either a photo-eye (the beam sensors near the floor) or a contact-reversing mechanism, and most modern units have both. Testing it takes two minutes and should be done monthly.
How to test auto-reverse safely
- Photo-eye test: with the door open, wave a hand or a piece of cardboard through the beam between the two sensors. The door should reverse direction immediately.
- Contact-reverse test: place a flat piece of 2×4 lumber on the floor in the center of the doorway. Close the door. When the door hits the wood, it should stop and reverse within about two inches, not push through.
- If either test fails, stop operating the door until a technician checks the opener. A door that closes on an obstacle and keeps going is a serious safety hazard, particularly for households with children or pets.
Travel limits and force settings
Openers use two settings called travel limits (where the door stops when fully open and fully closed) and force settings (how hard the opener pushes before reversing). Both drift over time as the door’s weight shifts with the seasons. A door that leaves a two-inch gap at the floor in winter but closes flush in summer is showing travel-limit drift, not a seal problem. Most openers have adjustment screws or a digital control on the motor unit that lets you nudge the limits. Follow the manual for your specific model. LiftMaster, Chamberlain, Genie, and Craftsman all use different control layouts, and the exact procedure varies. If you’re not sure which unit you have, photograph the label under the light cover and call us.
Adjusting the force setting incorrectly can damage the opener or mask a real problem (a door that has become too heavy because a spring is failing). The garage door opener repair page covers the diagnostic order in more detail. Do not increase the force setting to make a dragging door close; that’s usually a sign the springs need attention. Adjusting the force setting does not void most opener warranties, but replacing internal components yourself does. If the fix requires opening the motor housing, it’s a job for a technician.
Seasonal Split: Summer vs. Winter Inspections
Two inspections a year, one in late spring and one in late fall, catch the seasonal failure patterns unique to Eagan. The tasks are different because the conditions are different.
Late spring inspection (after the last freeze)
- Clean the track of grit and salt residue from the winter. Wipe down with a dry cloth and inspect hinge plates for surface rust.
- Check the weather seal for cracks and tears caused by the cold. Rubber that flexed fine at minus 10 often shows hairline cracks by May.
- Test the auto-reverse and balance after the door has fully warmed to summer temperatures. Spring tensions can actually feel different in June than they did in March.
- Adjust travel limits if the door is now leaving a gap at the floor or hitting the stop slightly.
- Lubricate springs, rollers, and hinges with a cold-rated lithium or silicone spray after cleaning.
Late fall inspection (before the first hard freeze)
- Switch to a cold-rated lubricant. This is where the wrong product does the most damage. Heavy grease applied in October is a liability by December. Use a light synthetic or silicone spray rated for low temperatures.
- Test the manual release because you’ll want to know it works if the power goes out during a storm.
- Check the door balance by pulling the manual release with the door half-open. A balanced door stays put. A door that drifts down on its own means the springs are losing tension.
- Look for daylight under the door. Any visible gap means cold air and snow will get in and the seal needs replacing before winter.
- Clear the sensor lenses of any spider webs, dust, or snow that may have drifted in. Frost on the lenses can shut the door down entirely.
- Check the safety cables on extension springs for rust-through. Cold weather makes metal more brittle, and a rust-weakened cable is at its most dangerous in January.
Doing both inspections takes about thirty minutes total and is the difference between a door that runs smoothly through a Minnesota winter and a door that fails on the coldest night of the year.
Red-Line Indicators: When to Stop Using the Door
Some symptoms mean “watch it for a week.” Others mean “stop using the door and call a technician.” The distinction matters because a door that fails mid-cycle under tension is a genuine hazard. Here’s the split.
Stop using the door immediately
- A visible gap in a torsion spring. The door is being held by nothing but the opener. Running it will strip the opener gears and possibly drop the door.
- A snapping or banging sound at the start of a cycle. Usually a broken spring, sometimes a hinge that has pulled out of the panel.
- A cable that has come off its drum or shows a frayed end. The remaining strands are under tremendous tension and can whip.
- The door hangs visibly crooked with one side higher than the other by more than an inch.
- The door has fallen partway and won’t lift. Do not force it. Call us.
- A bright daylight gap on one side that wasn’t there before. Often a spring or cable failure in progress.
- The auto-reverse test fails twice in a row. A door that closes on an obstacle and keeps going is unsafe.
Watch it for a week
- Slight increase in noise at the start of the cycle, usually solved with lubrication.
- Minor wobble on rollers that spin freely but have some play. Monitor and schedule a replacement.
- A small gap under the weather seal on one side that closes if you push the door. Likely a seal compression issue.
- The opener light flickers or the remote needs to be closer. Usually a battery or antenna issue, not a door problem.
- Slow opening or closing without any other symptoms. Could be cold grease or a starting motor issue. Note it and watch.
When in doubt, call. A technician can diagnose the difference between a $15 lubricant fix and a failing spring in under ten minutes, and the wrong call on a red-line issue can be expensive.
Maintenance Log Template for Eagan Homeowners
A maintenance log is the single best tool for predicting when a spring or cable is going to fail, because it captures the drift that no single inspection reveals. Keep a small notebook or a note on your phone with these columns. Each quarter, record:
- Date inspected.
- Ambient temperature when the test was done (this matters for balance and force readings).
- Auto-reverse result: reversed, did not reverse, delayed.
- Balance test result: stays at half-open, drifts down slowly, drops fast.
- Full-open height (measured from the floor to the door bottom with the door fully open). This is where you’ll spot travel-limit drift.
- Full-closed seal contact: flush, small gap, visible daylight gap.
- Sounds noticed: normal, minor creak, popping, grinding, none.
- Lubricant used and date applied.
- Visible rust or cable wear: none, surface, moderate, significant.
- Action taken or scheduled.
After six months of logging, patterns emerge. A spring that took 2 seconds to slow the door a year ago and now takes 4 seconds to close is telling you it’s near the end of its cycle life. A full-open height that has dropped half an inch is telling you the opener is out of adjustment or the door is getting heavier. Those two data points are the strongest predictors of spring and cable replacement windows, and they’re the ones no visual inspection alone will reveal.
Bring the log to any service appointment. It turns a vague problem (“the door is noisy”) into a specific diagnosis (“the spring has been losing tension for six months at an accelerating rate”), which usually means a faster fix and a better estimate. For a full walkthrough of what a service call involves, the team at Eagan Garage Door Repair can lay out the diagnostic order before you agree to anything.
Common Mistakes to Avoid
- Using heavy grease on springs in the fall. A product that feels right in October is a liability by January. Cold-rated lithium spray or silicone, every time. This is a common mistake in Eagan and it’s the one we see behind most premature spring failures.
- Replacing one spring instead of the pair. The surviving spring is at the same point in its cycle life and will usually fail within a season. Pair replacement is cheaper than two separate single replacements.
- Nudging the force setting up to mask a dragging door. If the door drags, the door is heavier than it used to be, and that means the springs are losing tension. Increasing the force just moves the failure to the opener gears.
- Oiling the track. The track should be clean and dry. Oil attracts grit, and grit accelerates roller wear. Wipe the track down, don’t lubricate it.
- Ignoring a small gap in the weather seal. A gap in October becomes a snowdrift in the garage by December. Replace the seal before the hard freeze, not after.
- Testing auto-reverse by letting the door hit an actual person or pet. Use a 2×4 on the floor. The test is designed to verify the reversal, not to test it on something that can be hurt.
- Trying to unwind or tighten a torsion spring following a video. Springs are under the entire door’s weight in tension. This is the single most dangerous DIY task in the home, and it’s not one a video can prepare you for.
When to Call a Professional
Some maintenance is genuinely a homeowner job: lubricating rollers and hinges, cleaning the track, wiping the sensors, testing the auto-reverse, and logging the results. The rest is a technician call. Spring work, cable work, any manipulation of the torsion bar, any diagnostic that requires opening the opener housing, and any repair where the door has failed the balance test all belong to a trained technician. That isn’t a sales pitch; it’s a safety rule. The springs and cables are under enough tension to cause a serious injury, and the manual tension adjustments in some openers can cause the door to reverse unpredictably if done wrong.
If you’re seeing a red-line symptom, stop running the door and call. If you’re seeing a “watch it for a week” symptom and it doesn’t resolve on its own, that’s also the right moment to call. Eagan Garage Door Repair offers free estimates in Eagan – call (844) 643-4886 for a same-day appointment. Our technicians have up to 12 years of experience across LiftMaster, Chamberlain, Genie, Clopay, Amarr, Wayne Dalton, Craftsman, and Raynor systems, and we can work on the equipment you already have rather than steering you toward a replacement you don’t need.
Frequently Asked Questions
Twice a year: once in late spring after the last freeze, once in late fall before the first hard freeze. Use a cold-rated lithium spray or silicone lubricant on the springs, hinges, and rollers. Do not lubricate the track itself. Heavy grease should be avoided entirely in Eagan because it congeals in sub-zero temperatures and puts extra torque on the spring coils every cycle.
Because cold weather puts extra stress on the spring at exactly the moment the metal is most brittle. The most common contribution is the wrong lubricant: grease applied in the fall thickens in January, so each cycle drags harder than the spring was designed for. Age and cycle count matter too, but in an Eagan winter, the temperature and lubricant combination is often the trigger on a spring that was already near the end of its cycle life.
No, and we’d strongly recommend against attempting it. Torsion springs are under the full weight of the door in tension. A spring that slips while being unwound or tightened can cause serious injury. Extension springs are also dangerous because they can whip when they come loose. This is a job for a trained technician with the right winding bars and door-specific knowledge, every time.
Torsion springs are mounted on a bar above the door and twist to lift it. Extension springs run along the sides of the track and stretch to lift the door. Most newer doors use torsion springs because they’re quieter and safer. Older doors and many single-stall doors use extension springs. Extension springs should always have safety cables running through the center of the spring as a backup in case the spring breaks. If either type fails, the door is unsafe to operate until it’s replaced.
Use a flat 2×4 laid on the floor in the center of the doorway. Close the door with the opener. When the door meets the wood, it should reverse direction immediately, within about two inches. Do not test auto-reverse by putting a person, pet, or hand in the doorway. For the photo-eye test, wave a piece of cardboard through the beam between the two floor-mounted sensors; the door should reverse immediately. Run both tests monthly.
Three common causes. First, the opener is hitting a force setting limit because the door is heavier than it expects (usually a spring issue). Second, the travel limit has drifted and the opener thinks it’s fully open earlier than it should be. Third, the cold has stiffened a grease-coated spring or roller and the door is dragging too hard for the opener motor. Start with the balance test (release the door with the manual release and see if it drifts down on its own), then check the temperature-rated lubricant. If either the balance test fails or the door leaves a gap at the top, call a technician.
The Bottom Line
A garage door maintenance checklist for Eagan isn’t the same as the checklist for a milder market. Springs, cables, seals, and openers all experience sharper seasonal stress here, and the failure patterns show up faster. The core tasks are simple: a five-minute visual walk-around once a month, a proper lubrication and safety test twice a year, a log that tracks the drift in balance and travel limits, and a clear rule that red-line symptoms mean stop using the door and call. Do those and you’ll catch a $15 problem before it becomes a $400 service call. If you’d rather have a technician run the seasonal inspection and give you a straight assessment of what’s wearing out, that’s a free estimate and a single phone call. Eagan Garage Door Repair works on every major brand you’re likely to find on a door in Eagan, and we’ll tell you what needs attention and what doesn’t.
Written by the team at Eagan Garage Door Repair.
See the difference
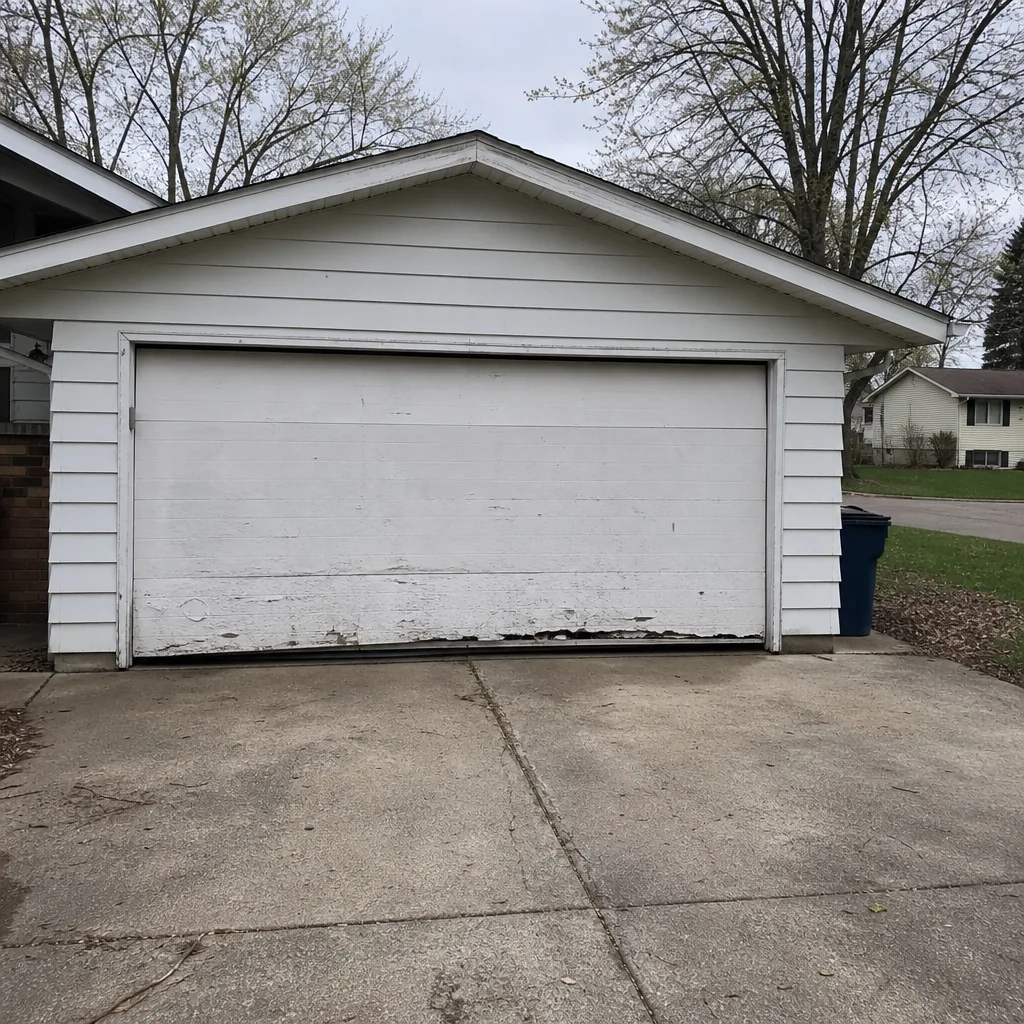 Before
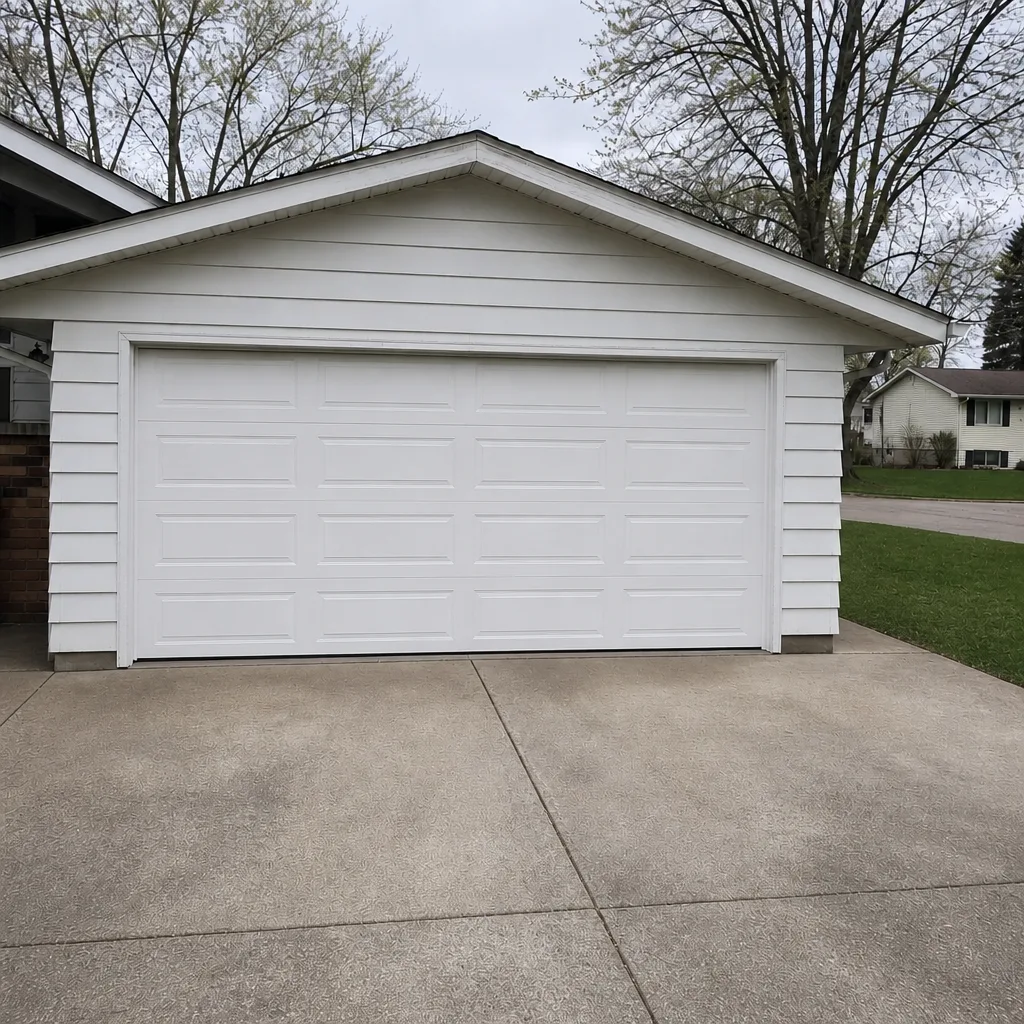 After
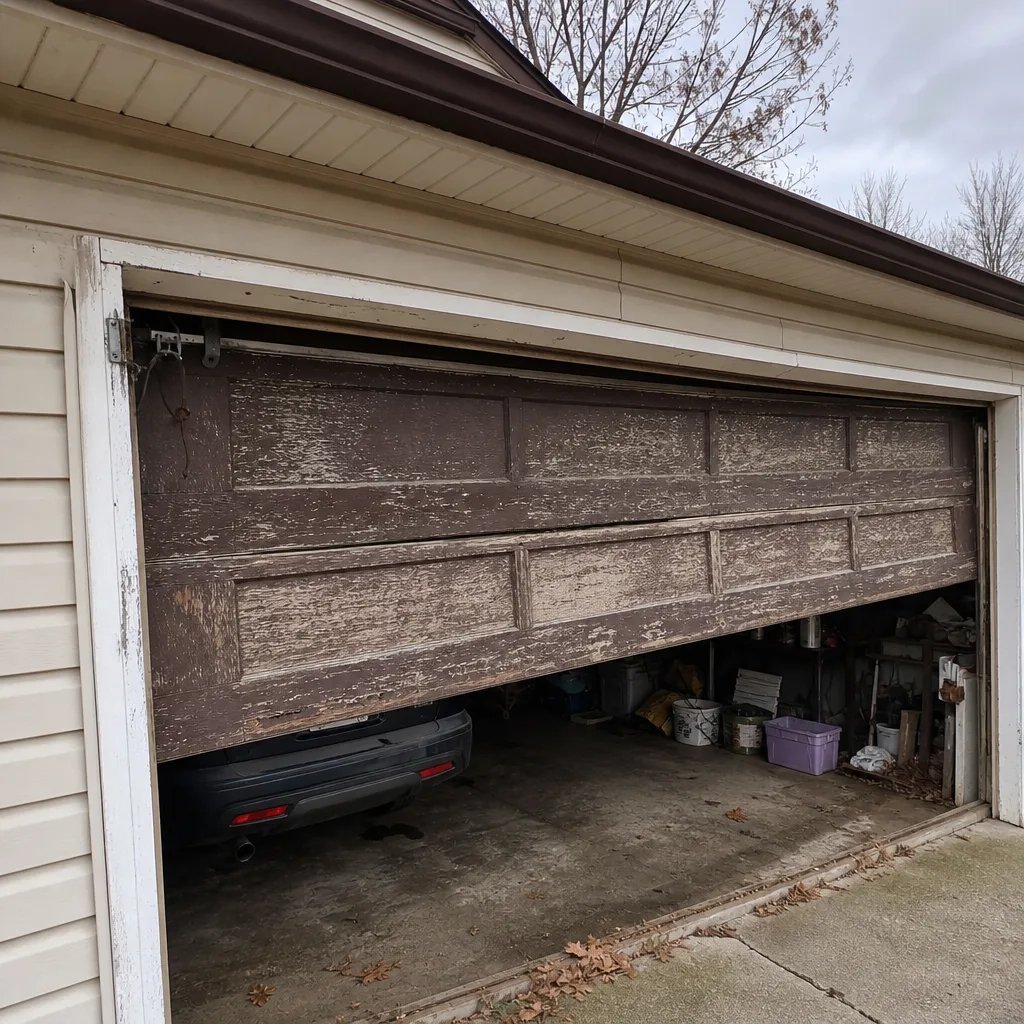 Before
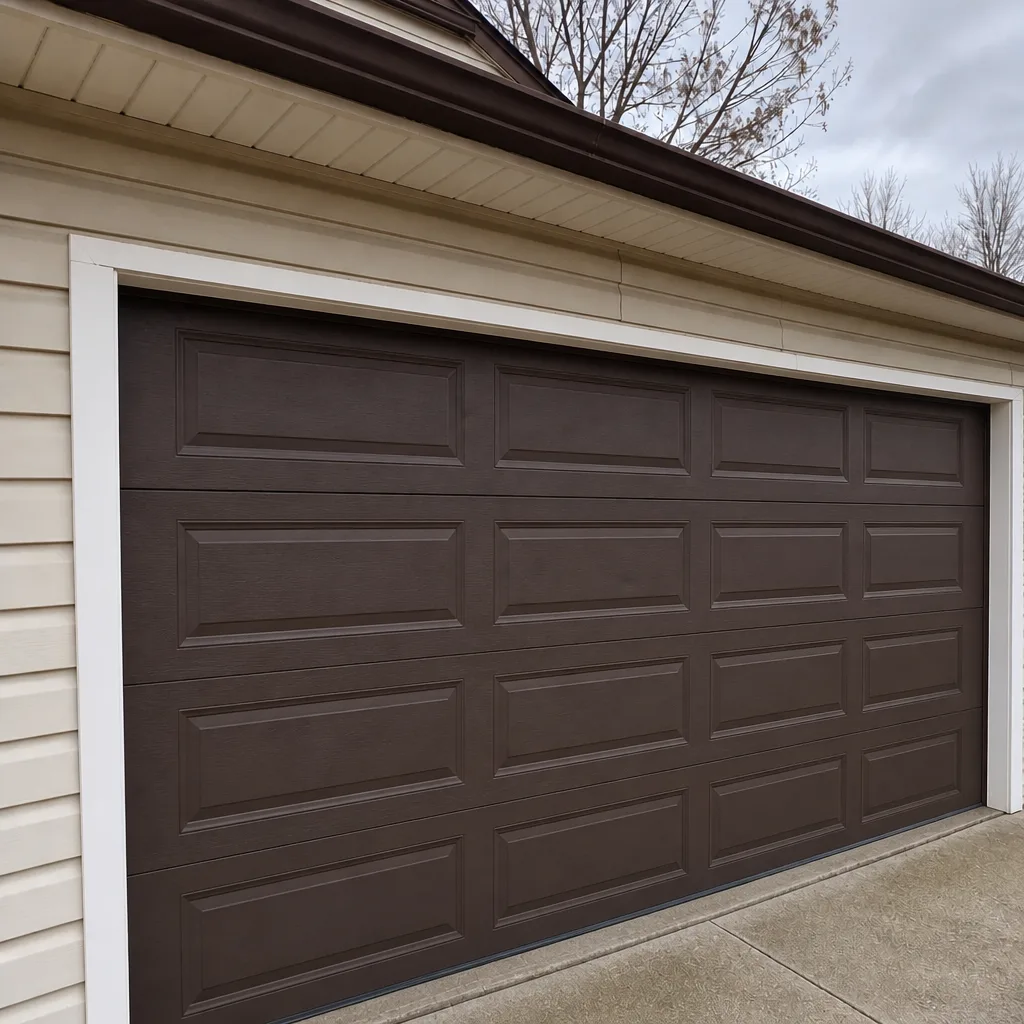 After
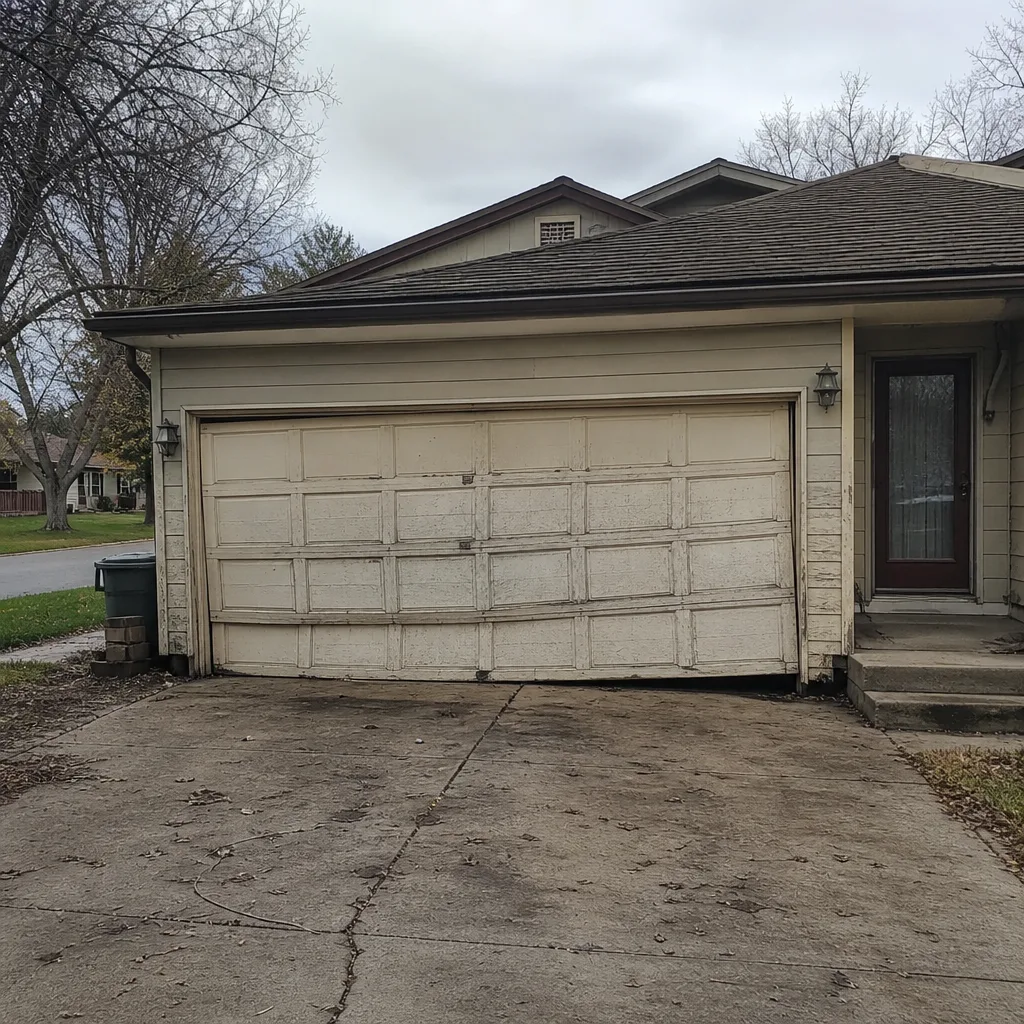 Before
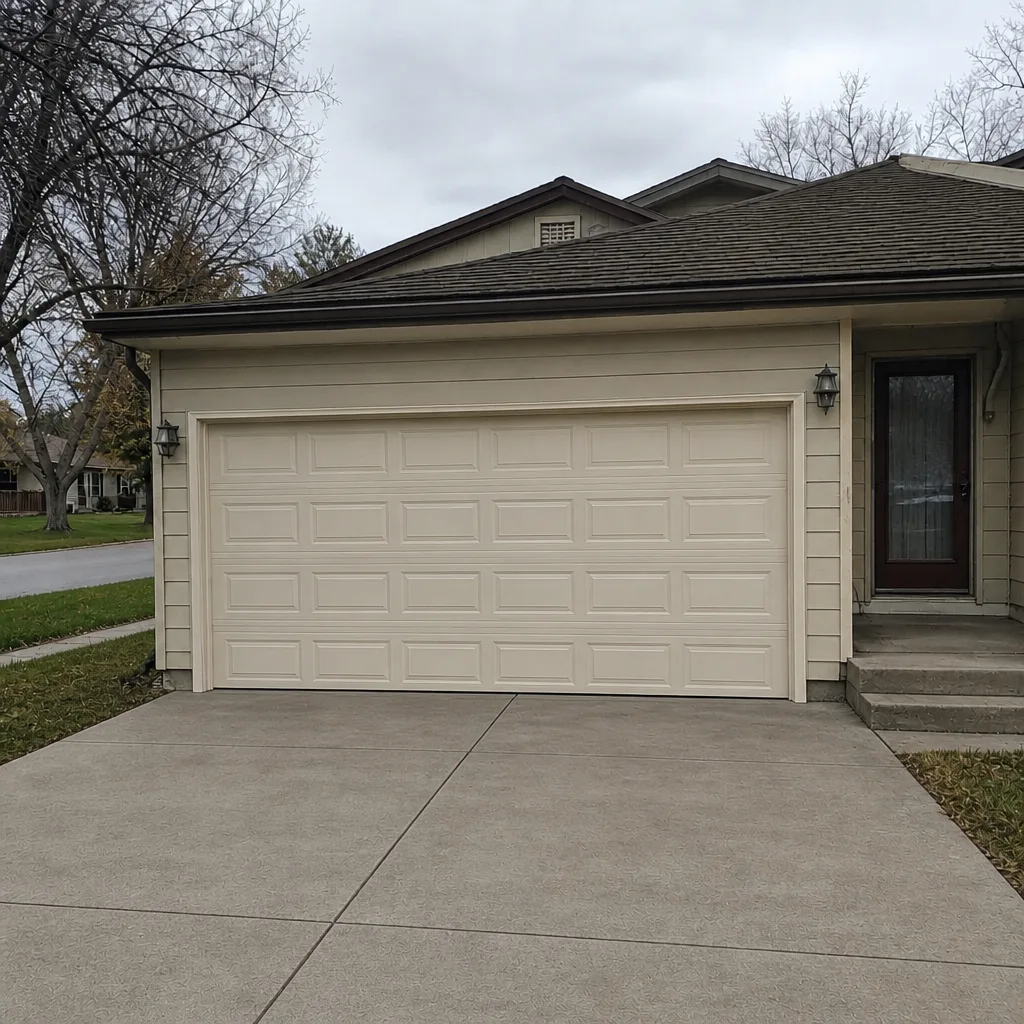 After